
A step-by-step tutorial for influencers and creator teams who want professional-looking tote bag designs without formal design training.
Introduction
For influencers, merchandise is often less about scale and more about signaling. A well-designed tote bag can extend a personal brand into offline spaces—events, pop-ups, partnerships, and audience giveaways. It becomes both a functional object and a visible identity marker.
The challenge is not creativity alone. Most creators face practical barriers: correct sizing, layout balance, export settings, and realistic previews. Without structured tools, the process can feel technical and slow.
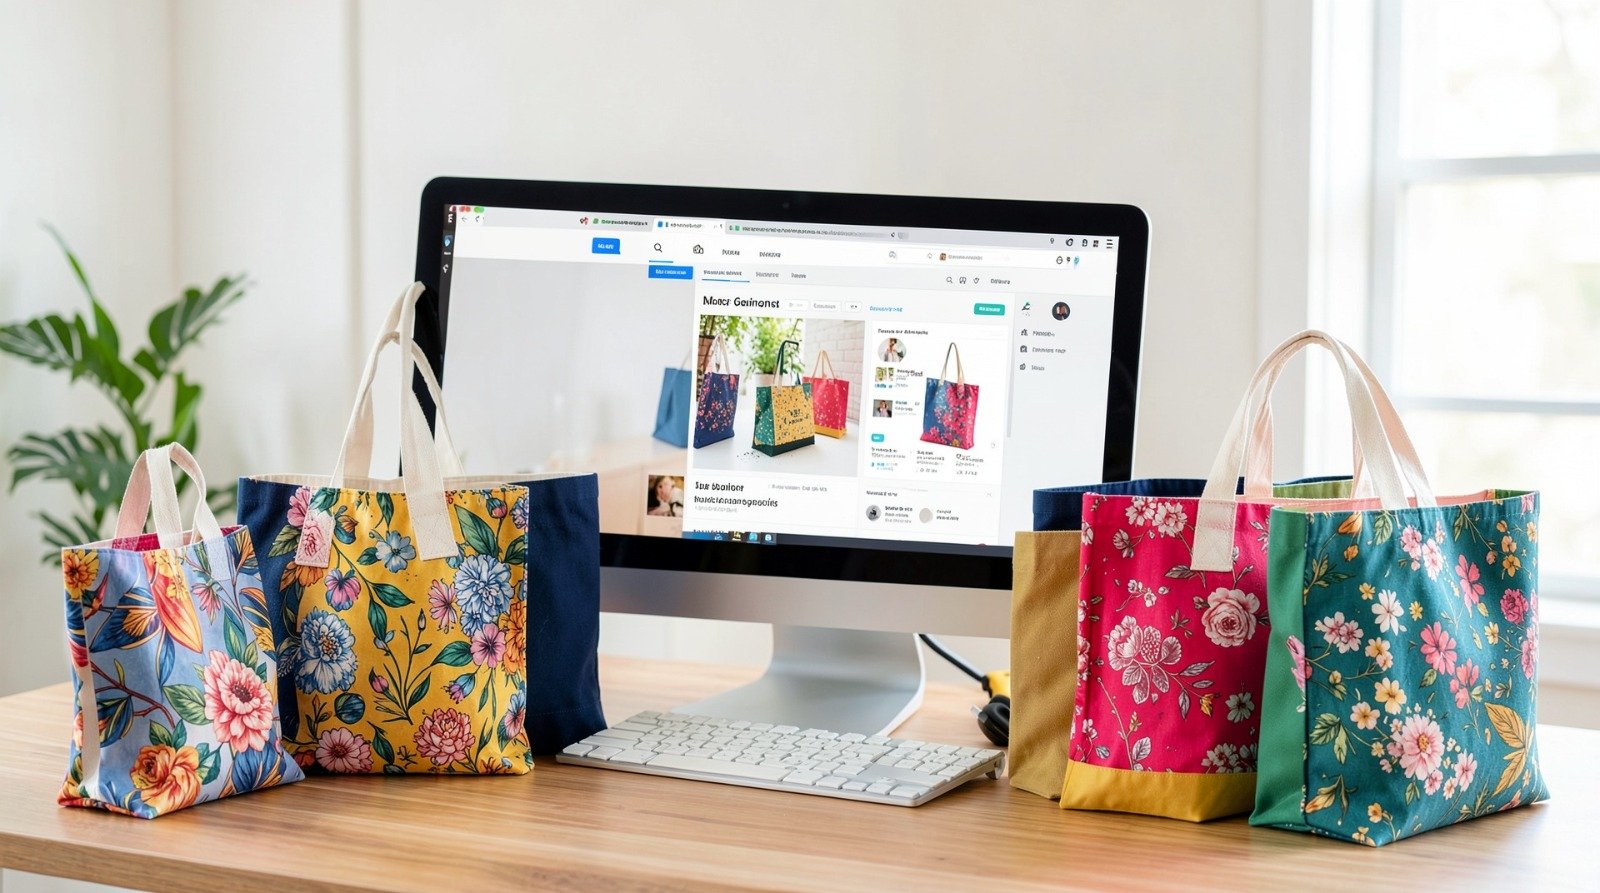
Tote bag mock-up generator platforms simplify this by combining editable templates with visual previews that simulate how artwork appears on fabric. Browser-based tools make it possible to move from idea to mockup without installing advanced design software. A structured workflow—starting with templates and built-in sizing—can reduce common production errors. For example, many creators begin with a free tote bag design from Adobe Express to access pre-sized layouts and mockups that align with standard print formats.
The key is not artistic complexity but clarity: defining the message, structuring the layout, validating scale, and exporting correctly.
Step-by-Step How-To Guide for Using a Tote Bag Mock Up Generator
Step 1: Define the Core Concept and Open a Sized Template
Goal
Establish a clear message and work within correct dimensions from the start.
How to do it
- Clarify the tote’s purpose (event giveaway, merch drop, collaboration).
- Choose one primary message or visual anchor.
- Open a tote-sized template inside your chosen mock up generator.
- Confirm orientation (portrait or landscape).
- Lock in the correct canvas size before adding assets.
What to watch for
- Starting with generic square dimensions.
- Designing for screen aesthetics instead of print proportions.
- Overcomplicating the concept before testing readability.
Tool notes
If collaborating with a designer, tools like Figma can help you sketch layout ideas and share feedback before finalizing the mockup.
Step 2: Add Brand Identity Elements
Goal
Ensure the tote is immediately recognizable as yours.
How to do it
- Upload a high-resolution logo (PNG or SVG).
- Add your brand name, handle, or tagline.
- Select one primary font and one supporting font.
- Align elements using grid guides.
- Keep spacing consistent around the central graphic.
What to watch for
- Pixelated logos when resized.
- Mixing too many fonts.
- Crowding the layout with secondary text.
Tool notes
If you need to organize logo versions or export different file types, Dropbox can help centralize brand assets for quick access across devices.
Step 3: Simplify the Layout for Real-World Visibility
Goal
Make the design readable from a distance.
How to do it
- Limit the color palette to two or three tones.
- Increase font weight for the main statement.
- Leave negative space around the primary element.
- Zoom out to preview readability.
- Remove non-essential copy.
What to watch for
- Thin typography that disappears on fabric.
- Low contrast between text and tote color.
- Decorative elements that distract from the main message.
Tool notes
To check color contrast ratios for accessibility and print clarity, tools from WebAIM can help validate contrast standards.
Step 4: Preview the Design on a Fabric Mockup
Goal
Validate placement and scale in a realistic context.
How to do it
- Apply your artwork to a front-facing tote mockup.
- Compare flat preview and lifestyle preview options.
- Adjust scale if the design feels too small.
- Check margins near seams and stitching.
- Export a draft mockup image for review.
What to watch for
- Artwork too close to the edge.
- Designs that shrink visually when applied to fabric.
- Ignoring how natural cotton tones affect color perception.
Tool notes
For gathering quick feedback from collaborators or managers, Slack can streamline internal review before final export.
Step 5: Export a Print-Ready File
Goal
Prepare artwork for manufacturing or fulfillment.
How to do it
- Confirm required file format (PDF, PNG, or high-res JPEG).
- Set resolution to 300 DPI for print.
- Include bleed if the design extends to the edge.
- Double-check spelling.
- Save an editable master file before exporting final versions.
What to watch for
- Exporting RGB files when the printer requires CMYK.
- Forgetting to convert fonts if necessary.
- Uploading compressed files to the printer portal.
Tool notes
To verify file specs and share large print-ready files securely, WeTransfer can simplify sending assets to vendors.
Step 6: Plan the Reveal and Distribution Strategy
Goal
Maximize the tote’s impact once produced.
How to do it
- Decide whether the tote is limited edition or ongoing merch.
- Photograph the tote in natural settings.
- Draft a short caption explaining the concept.
- Schedule announcement posts.
- Monitor audience response.
What to watch for
- Launching without preview imagery.
- Overestimating production speed.
- Forgetting to capture content for future promotion.
Tool notes
Scheduling and performance tracking can be managed through Buffer to evaluate engagement after launch.
Common Workflow Variations
Minimalist Drop
A centered logo with wide negative space works well for subtle branding.
Text-Forward Statement Tote
Bold typography with a short phrase often prints more clearly than intricate graphics.
Collaborative Edition
Split the layout evenly between two brand marks to maintain visual balance.
Event-Specific Run
Add date and location beneath the main design in smaller type to avoid clutter.
Checklists
Before You Start Checklist
- High-resolution logo files
- Brand color codes
- Correct tote dimensions
- Defined audience purpose
- Print vendor file requirements
- Timeline for launch
- Internal review workflow
Pre-Export / Pre-Order Checklist
- 300 DPI resolution confirmed
- Correct color mode
- Bleed area included (if required)
- Margins verified
- Spelling checked
- Editable master saved
- Mockup preview approved
Common Issues and Fixes
Blurry artwork
Replace raster images with vector files when possible.
Text cropped in production
Increase internal margins to create a safe print area.
Muted colors on fabric
Adjust saturation slightly higher to compensate for cotton absorption.
Design feels too small
Increase overall scale and retest in mockup preview.
Layout feels busy
Remove secondary elements and emphasize one core message.
How To Use a Tote Bag Mock Up Generator: FAQs
Is a template necessary?
Templates reduce sizing errors and speed up setup, especially for first-time designers.
Can I design without professional software?
Yes. Modern browser-based tools provide layout guides, font libraries, and export presets suitable for most tote runs.
How do I know if my design will print clearly?
Preview at 100% scale, check contrast, and confirm 300 DPI resolution before export.
What matters most for influencer merch?
Clarity, brand recognition, and practical readability usually outperform intricate visual detail.