
Introduction to Yalla Choy
Yalla Choy, a leafy green vegetable often celebrated in Asian cuisine, is gaining popularity among home gardeners. Its vibrant flavor and versatility make it a delightful addition to any dish. Imagine being able to pluck fresh leaves from your own garden for stir-fries or salads! Growing Yalla Choy at home isn’t just rewarding; it’s also surprisingly simple.
If you’ve ever wanted to cultivate your own greens but felt overwhelmed by the process, you’re in luck. This beginner’s guide will walk you through everything you need to know about growing Yalla Choy successfully. Get ready to dig into this exciting gardening adventure and enjoy the numerous benefits of having fresh produce right at your fingertips!
Benefits of Growing Yalla Choy at Home
Growing yalla choy at home offers a myriad of benefits that extend beyond the kitchen. This leafy green vegetable is packed with essential nutrients, making it a valuable addition to your diet. It’s rich in vitamins A, C, and K, as well as minerals like calcium and iron.
Cultivating yalla choy also promotes sustainability. You can enjoy fresh produce without the carbon footprint associated with store-bought greens. Plus, gardening can be therapeutic; tending to plants provides a sense of accomplishment and connection to nature.
Another advantage is convenience. Having yalla choy readily available means you can whip up healthy meals on demand. Whether you’re stir-frying or adding it to soups, this versatile veggie elevates any dish effortlessly. Growing your own herbs and vegetables fosters creativity in cooking while allowing you to experiment with flavors right from your garden.
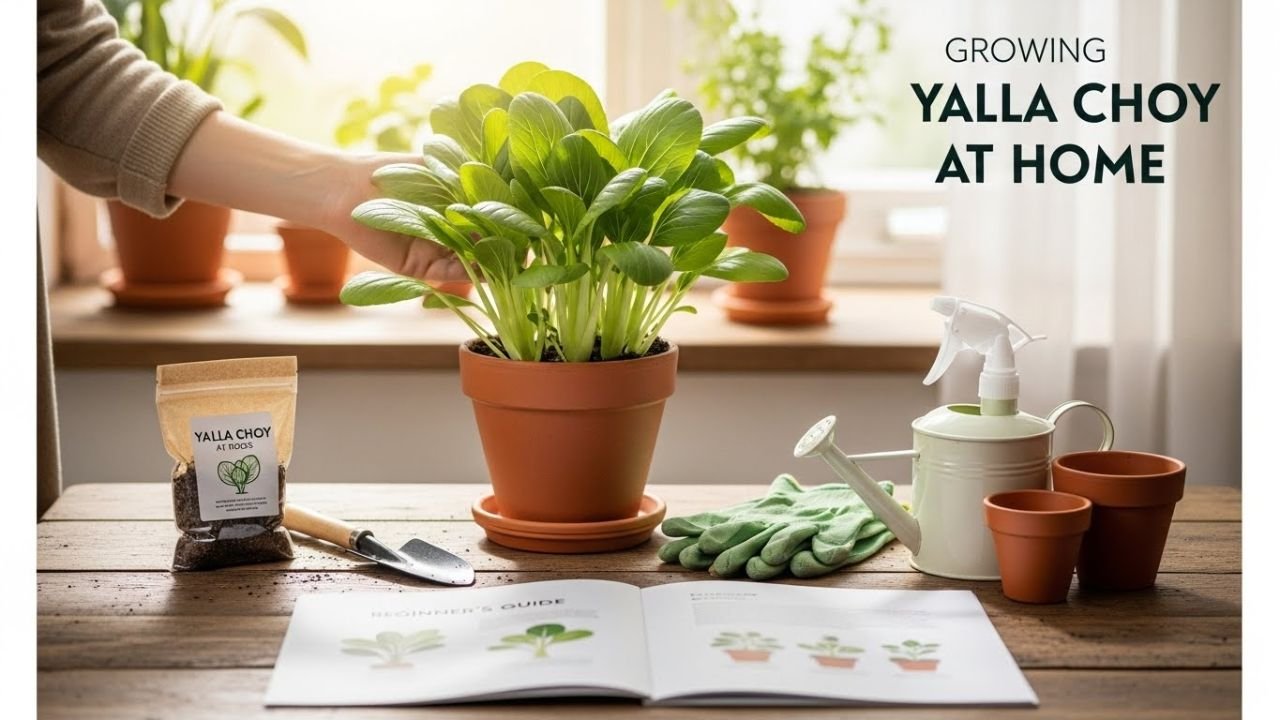
What You Need to Get Started
To start your journey with yalla choy, gather the essentials first. Lightweight potting soil is key. It provides good drainage while retaining moisture. Next, choose a container or garden bed that allows ample space for growth. Yalla choy can thrive in pots, raised beds, or directly in the ground just ensure there’s enough room for its roots to expand.
Seeds are crucial too. Look for high-quality yalla choy seeds from a reputable source to kick off your gardening adventure. Don’t forget about sunlight! A sunny spot with at least six hours of direct light daily will help encourage robust growth and vibrant flavor.
Have some organic fertilizer handy. This will nourish your plants as they grow and keep them healthy throughout their lifecycle. With these items on hand, you’re ready to embark on this exciting gardening experience!
Step-by-Step Guide to Growing Yalla Choy
Start with high-quality seeds or seedlings. Look for healthy, vibrant plants that promise a fruitful yield. Prepare your garden bed by loosening the soil and enriching it with compost. Yalla choy thrives in well-drained, nutrient-rich soil.
Choose a sunny spot; about six hours of sunlight daily will do wonders for growth. If you’re growing indoors, make sure to provide adequate light using grow lights if necessary. Sow the seeds about half an inch deep and space them around 12 inches apart to allow room for their lush leaves. Water gently but consistently to keep the soil moist without waterlogging.
As they grow, thin out weaker seedlings to ensure strong development of remaining plants. Keep an eye on pests like aphids or caterpillars as they can ruin your crop quickly. Regular inspection is key!
Common Issues and How to Solve Them
Growing yalla choy can be rewarding, but you might face a few challenges along the way. One common issue is pests like aphids and caterpillars. Regularly inspecting your plants helps catch these invaders early. You can use insecticidal soap or neem oil for effective treatment without harming beneficial insects.
Another problem is yellowing leaves, which often indicates nutrient deficiencies or overwatering. Ensure you’re using well-draining soil and consider adding organic fertilizers to boost nutrients when needed. If your yalla choy isn’t growing as expected, check the light conditions. This plant loves bright, indirect sunlight; too little light can stunt its growth.
Wilting leaves could signal underwatering or extreme heat stress. Keep an eye on moisture levels in the soil and adjust watering accordingly during hot spells to keep your plants thriving.
Harvesting and Cooking with Yalla Choy
Harvesting Yalla Choy is an exciting step in your gardening journey. When the leaves are about 6 to 8 inches tall, they’re ready for picking. Use sharp scissors or garden shears to snip off the outer leaves first. This method encourages new growth from the center.
Cooking with Yalla Choy opens up a world of culinary possibilities. Its tender leaves have a mild flavor that complements many dishes. Try stir-frying it with garlic and soy sauce for a quick side dish or adding it to soups for extra nutrition.
You can also incorporate Yalla Choy into salads, providing a crunchy texture alongside other fresh greens. The versatility doesn’t end there; this leafy delight can be steamed or added to omelets as well.
Experimenting with different recipes will showcase its unique taste while keeping meals vibrant and healthy. Enjoy the fruits of your labor in delicious ways!
Tips for Maintaining a Successful Yalla Choy Garden
Regular watering is key. Yalla choy thrives in moist soil, but don’t overdo it. Check the top inch of the soil; if it feels dry, it’s time to water. Fertilizing can boost growth. Use a balanced, organic fertilizer every few weeks during the growing season. This will help your plants flourish and deliver vibrant greens.
Keep an eye out for pests like aphids or snails. Handpicking these nuisances off leaves can be effective. A gentle soap spray may also provide some assistance without harming your plants. Rotate your crops each season to keep soil nutrients balanced and prevent disease buildup. This simple practice ensures healthier plants year after year.
Ensure they receive adequate sunlight around six hours daily works wonders for their development! Your dedication pays off when you see those lush green leaves thriving in your garden space.
Conclusion
Growing yalla choy at home is not only rewarding but also a delightful way to enhance your culinary experiences. With the right knowledge and tools, anyone can cultivate this nutritious green vegetable in their own garden or even on a windowsill.
By understanding its benefits, such as improved health from nutrient-rich leaves and the satisfaction of home gardening, you’re already on the right path. Starting with basic essentials like seeds, soil, and adequate sunlight sets you up for success. The step-by-step guide provides clear instructions to ensure that each stage of growth is managed properly.
Facing challenges is part of gardening; however, knowing how to address common issues means you’ll be prepared when they arise. Once you’ve nurtured your yalla choy plants to maturity, harvesting becomes an exciting phase where you’ll truly appreciate your efforts.
With cooking tips in hand, you can transform freshly picked yalla choy into delicious dishes that tantalize taste buds while adding nutritional value to meals. Regular maintenance will help keep your garden thriving over time.
This journey opens up new doors towards sustainability and healthy living while bringing joy through each harvest. So whether it’s for personal use or sharing with loved ones—growing yalla choy could become one of your favorite hobbies!